Showing posts with label invitations. Show all posts

Saturday, April 4, 2009

DIY Wedding Invitations - Part 2

My original post about our wedding invitations was all rainbows and sunshine - girls crafting and laughing together, having a wonderful Saturday, with a pile of perfectly assembled invites ready to be mailed at the end of the day. This post is going to bring us back to reality - the costs of creating your own wedding invitations.

First up, the supplies:

Paper... all of the paper came from an online company that I would recommend wholeheartedly. The site is PaperandMore.com, and they are the best value I could find. Very low prices, and great customer service. The shipping costs were very cheap, so I could justify having the items shipped instead of buying them in a store somewhere.
- 150 Champagne Metallic Pocket Folder
- 100 Sheets of 8.5x11 Bronze Metallic Brown Text Paper
- 100 Sheets of 8.5x11 Champagne Metallic Text Paper
- 100 Sheets of 8.5x11 Champagne Metallic Cardstock

- 4 Bar Champagne Metallic 3 5/8 x 5 1/8 Envelopes (these are the smaller RSVP ones)
- A-7 Champagne Metallic 5 1/4 x 7 1/4 Envelopes (full invite suite envelope)

This was the bulk of the expense for the invitations. The pocket folders were .80 cents each, an absolute steal if you know what pocketfold invites usually cost. Total cost for the paper? $305.85 That also meant I had some scraps leftover to use on future projects (escort cards, etc.).

Other major supplies:
- Cherry Blossom stamps (purchased 2 to have a spare, $14.77 each with shipping)
- Ink Pads (Stampin' Up in Chocolate Chip, Pretty in Pink, and Regal Rose; $5.95 each)
- AdTec tape rollers adhesive (approx. $2.99 per double refill pack)
- paper trimmer ($19.99 Walmart)
- return address stamp (ordered from Etsy, $15.99)
- RSVP address stamp (ordered from Vista Print, $9.99)

Adding it all up, the invitations cost about $400, not including the postage (outer envelope needed a 59 cent stamp, and the RSVP envelope was a regular first class stamp). I could have saved money in several places along the way. For instance, had we made RSVP postcards, that would have cut back on postage. Handwriting the return addresses on the envelopes instead of creating custom stamps would have saved a bit of money (though the stamps saved us a ton of time).

So, was it worth it? For me - yes. I love paper crafting, so making my invitations was a wedding project I was not only capable of undertaking, but also one that I took joy in doing. Being a crafter, I could justify the costs of many of the supplies, (like the stamps and ink pads), since they're items that I'll use again. Plus, I had a wonderful time creating them, which made all the hard work worth it.

[Editor's Note: If you have any specific questions about how I made the invites, or questions about getting the supplies, please feel free to email or leave a comment - I'm more than happy to share anything I've learned throughout the process!]

Read more...

Tuesday, March 31, 2009

DIY Wedding Invitations - Part 1

When I decided to make our wedding invitations myself, I knew the process was going to be painful. I would need to decide on a layout after having seen thousands of samples in wedding magazines and online. I would need to locate affordable paper and supplies. I would need to figure out a printing strategy (use a home computer? take them to a Staples or Office Max?). I would need to actually create and assemble 125 invitations. And I would need to do this all while staying on budget, accommodating everyone's suggestions, requests, and subtle demands, and keeping what shred of sanity I have intact.

Mission accomplished. I now present, our do-it-yourself-with-some-help-from-your-friends wedding invitations. I'm going to do a separate post on specific supplies and costs, but for now, let's just revisit Craft Fest 2009, a weekend where family and friends convened at my mom's house and worked their little fingers to the bone...

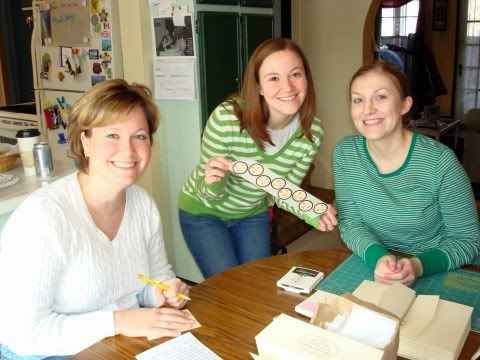
First up - Team Craft Wenches. HistoryGirlie, myself, and TWP staked out our work areas at the kitchen table (while Mom and Auntie T refused to be photographed and escaped to the livingroom to work on another project).

Both of these paper masochists willing helpers are DIY champs. Between the two of them, they've made monkey-shaped birthday cakes and award winning cheesecakes (from scratch), scrapbooked, paper crafted, embroidered, sewed, woodworked, gardened, and shaken Martha Stewart to her core. Both ladies have also survived childbirth, their own weddings, and life with me for quite some time, so I was beyond psyched to have them helping me out.

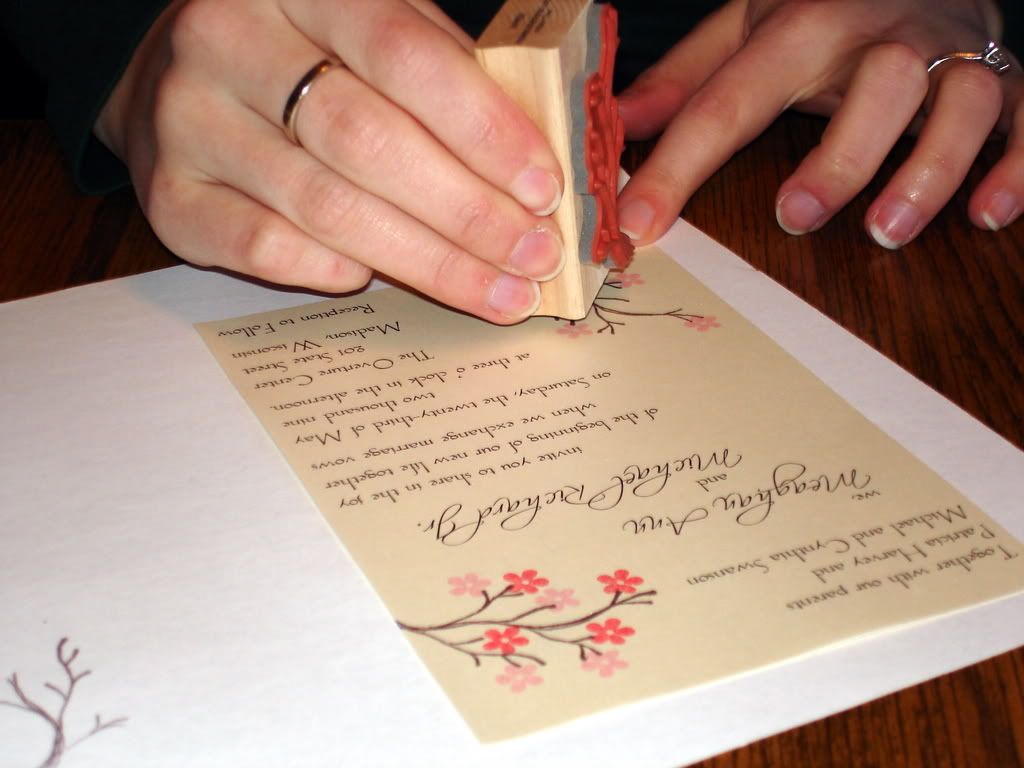
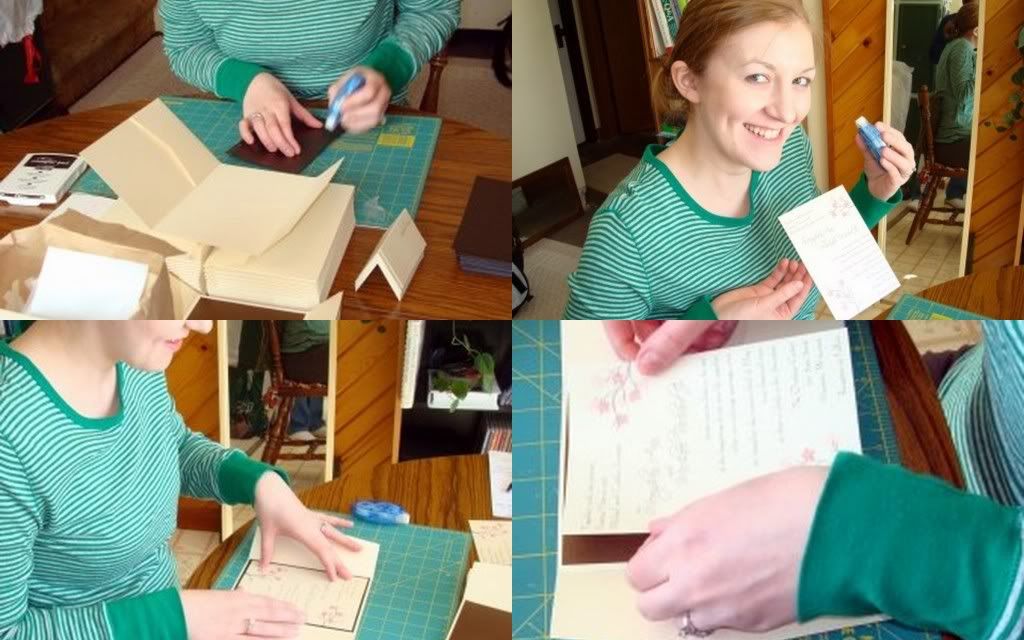
All of the designing and printing steps were completed before I arrived back in Wisconsin, so I'm going to skip ahead the more enjoyable crafting portions of the project. Here I am adding a cherry blossom stamp to the main layer of the invitation. The "cherry blossom stamp" involved stamping the branch in brown ink, stamping one set of light pink flowers, and then stamping a set of dark pink flowers. There were two cherry blossom stamps on each main layer, so that took up a good chunk of the first day's efforts.

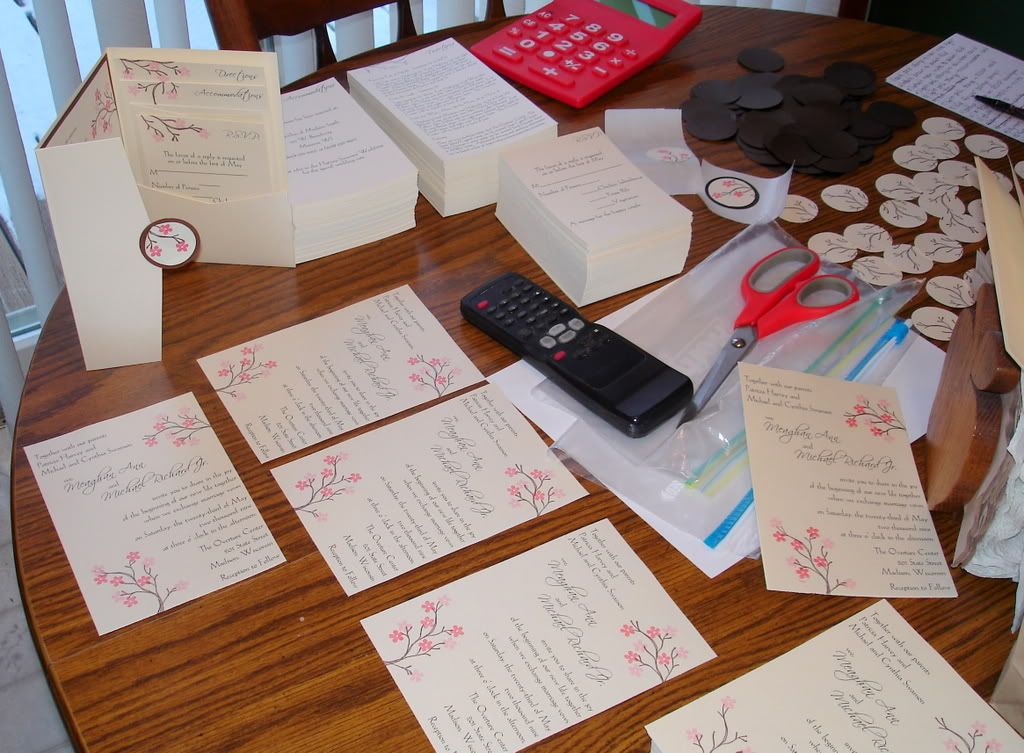
Here's a glimpse of the worktable in progress... messiness = productivity.

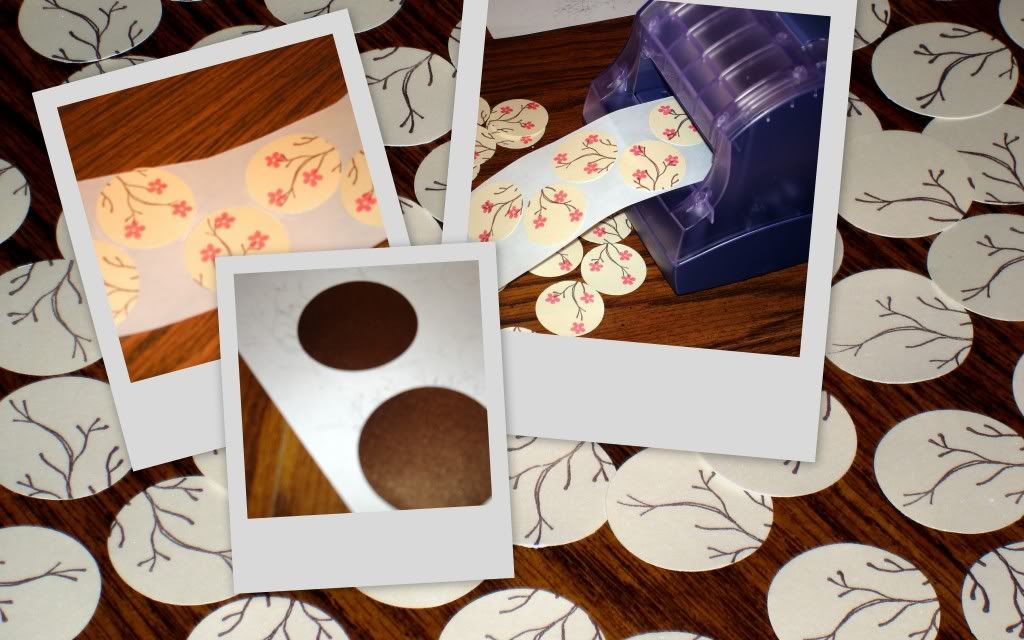
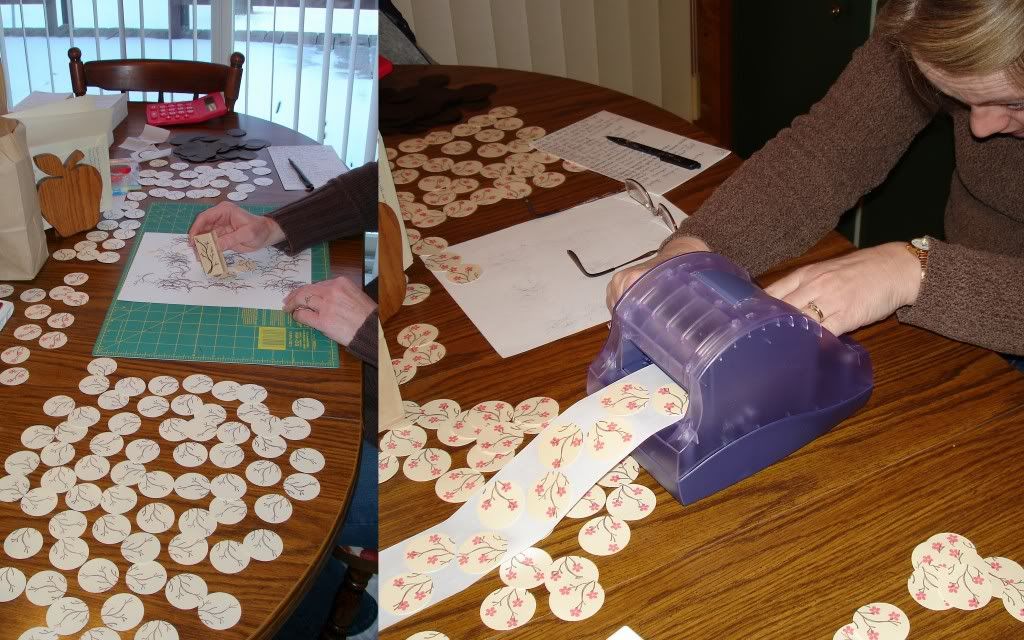
In order to close the pocketfold invitation, I needed to use some sort of sticker or closure. We went with a 2" circular sticker, again featuring the cherry blossom stamp. In order to make the stickers, we used a punch to punch out 125 cream circles, and 125 brown circles (Mom loved playing with the punches). Then each circle was separately fed through a Xyron sticker machine. Then Auntie T layered the cream circle on the brown, and they were ready to be attached to the pocketfold once the inside of the invitation was finished.

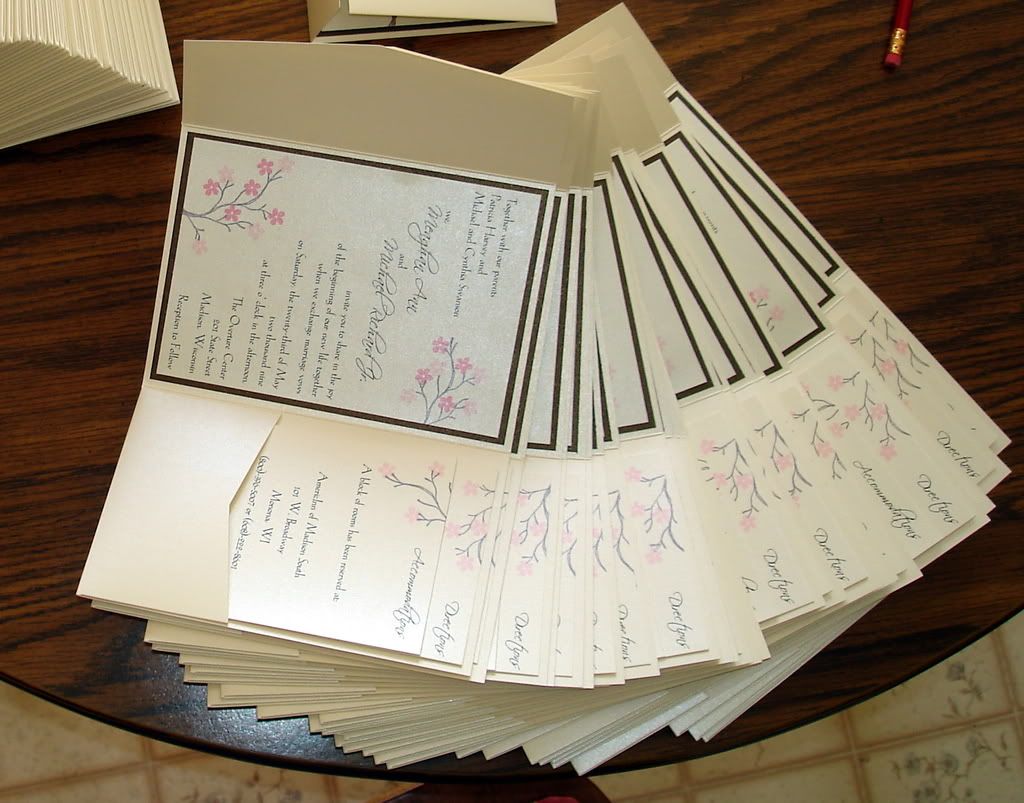
Here's Mom hard at work stamping circles, and Auntie T hard at work feeding circles through the Xyron machine.Once the main layer was stamped and ready to go, TWP assembled a layer of brown backing paper, then the main invite layer on top. The far right side of the pocketfold has a (duh) pocket, in which we inserted three additional pieces - an accommodations card, a directions card, and an RSVP card with matching envelope. Our ceremony and reception are at the same location, so we didn't need a separate reception card.

Here they are!!! Looking so beautifully splayed on the kitchen table, ready to be closed, stickered, and stuffed in gorgeous "calligraphed" envelopes.

The final product. My baby. It seems like just yesterday, she was only a glimmer in my eye... ;)

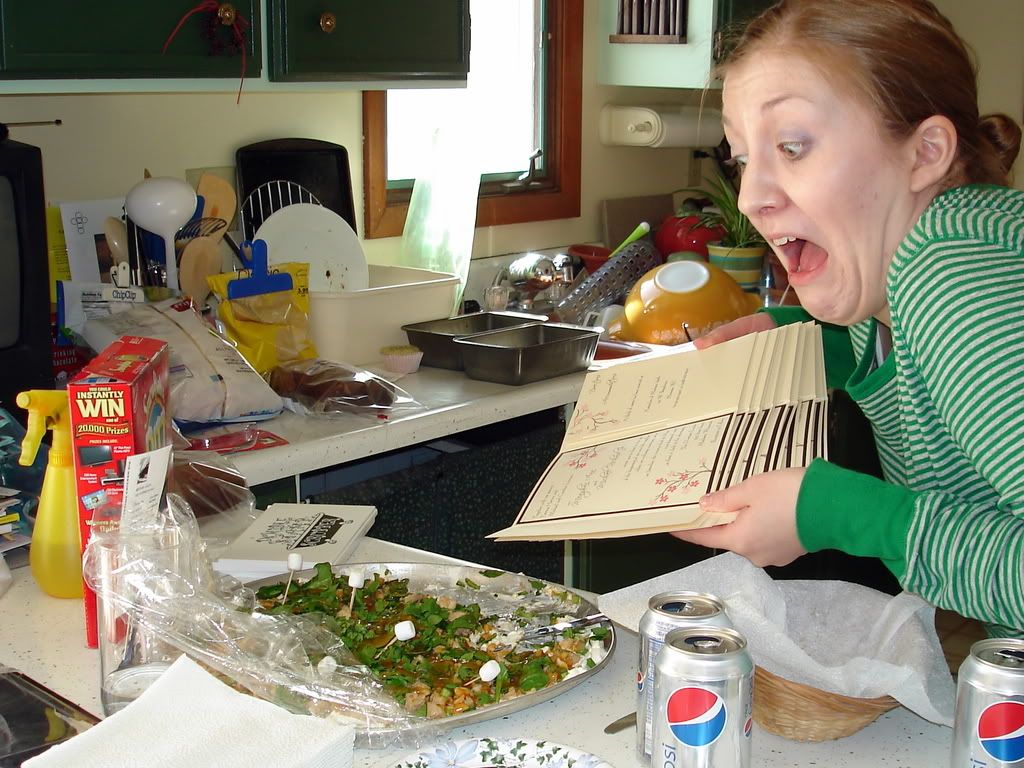
And TWP having a little fun with the finished invites. (Don't worry - the photo was staged and neither the invites - nor the sweet and sour chicken dip - was in any real danger.)

Read more...

Tuesday, March 17, 2009

DIY Addressing Invitation Envelopes

So in my wedding fantasy, a stylish calligrapher addresses the front of each of our invitation envelopes in a modern font a la...
Laura Hooper's amazing lettering. Oh, Laura. The hours I've wasted on your website drooling.

Alas, calligraphy was not in our budget, especially considering I know that 98.5% of our guests will not in any way, shape, or form either notice or care what the front of their envelope looks like.

However, that still leaves 1.5% of our guests (including my mother, TWP, and Historygirlie) who will look at the envelope and appreciate the handwritten address. Knowing that, I spent a few random hours while subbing practicing my "fancy" writin'... Thus I give you, my DIY calligraphy tutorial.

Step 1: Gather supplies.A hard writing surface. Your pen of choice (I used an American Crafts Slick Writer pen in brown from Archivers). Envelopes (mine came from here). And a template so that your words are straight and don't slant. If you enlarge the photo above, you can see my template on the left. I used a ruler to create the lines; the second line from the top is the first line of the address (for ex. Mr. and Mrs. John Adams goes on that line). Then narrowly spaced lines are to make sure that the address doesn't get too squished vertically. The vertical lines are exactly in the middle of the envelope, which helped me space out the address (I went for the even more irritating form of centering each line of the address... Hello, my name is Mugs, and I'm anal-retentive.)


Step 2: Insert the template into the envelope. I used a dark sharpie marker to make the template, so I could see the lines through the envelope.

Step 3: Slide a paperclip on the whole packet so the template doesn't move; I put my paperclip where the postage stamp will go in case it marred the envelope at all. (Yes, again, hello my name is Mugs and I'm anal-retentive.)
Step 4: Trial and error. Order extra envelopes so you can do a trial run. It will take some practice to get the lettering spaced out nicely and centered if you're going that route.

Step 5: Hunker down for a long night of writing! My guest list involved 112 envelopes. After some mistakes, I probably addressed 125 in the course of three days. By the end my hand had cramped, my pinkie wouldn't bend in one direction, my elbow had taken to twitching randomly, and I was pretty certain I didn't even want to invite half of the people on the list! But, it was worth it. I'm really happy with how my pseudo calligraphy turned out:The invitations are set to go out next week, and I'm dying to show them to you all, but I must summon all of my patience and wait. I don't want to ruin the surprise for guests who do read this little blog, so I won't expose the whole shebang for a little while longer... :)

The photo quality isn't great on most of these pics, so if you want a better look, I'd suggest clicking on the photos.

Read more...

Wednesday, February 11, 2009

Postage Woes

And the vicious cycle continues. Ever since email has become the go-to means of communication, the post office has been suffering. How does USPS battle the online onslaught? Well, by raising the price of stamps of course. In order to continue to make a profit with declining customers (20% fewer letters have been sent in the past 10 years - that's 11 billion pieces of mail), the post office has to increase the cost of stamps. (To be fair, the prices are also increased to offset inflation.) But, what results from the price hike? Some irritated customers... who turn to more email in frustration!

Why am I ranting about this? Because the annual postage increase is throwing a wrench in my wedding mailing plans. The cost of a first-class stamp is going to 44 cents on May 11th. So what? Most of you are probably saying, gee, at least she knows about the change far in advance. Point taken, but, here are the issues. The wedding invitations themselves will be sent before the May 11th rate hike and should be safe from drama; they need to go out towards the end of March. The RSVP envelope, pre-stamped by me, myself, and I, is another story.

Those are supposed to be returned to my mom by May 1st. Knowing however, that people will probably send them back late, I now have to figure out whether to stick with the 42 cent stamp on the RSVP, or play it safe and shell out the extra two cents for each envelope just in case people send them back later. I could go with the Forever stamps on all the RSVPs, but gosh they're ugly. I'm sure that's what I'll end up doing, but it means I have to start stalking the post office in Anacortes to hoard those stamps. Anyone know a good black market contact for Forever stamps? :)

Am I missing any potential problems with this rate hike? Anybody see a flaw in my plan for dealing with the United States Postal Service?

Read more...

Saturday, January 24, 2009

DIY Invite - Sneak Peak!

Just a little look at what's coming down the pipe for our wedding invitations...

You'll have to wait until the full version is finished before you get the whole picture! Hope you like them - I'm soooo excited :)

Read more...

Monday, December 8, 2008

The Future Mrs...

Wedding invitations are going to be a reoccuring topic around here for a while, as I try to decide a) on a design, format, etc., and b) if I'm woman enough to tackle this project DIY style. As I was paying bills / perusing wedding sites last night, I found the most creative, unique, and sassy invites I've found so far at a site called The Future Mrs. Darcy. As a major Pride and Prejudice fan, the name alone intrigued me, and when I saw the theme of the invitations, I was even more excited. Each of the wedding invitation suites is based off of a different famous film or tv couple!

Feast your eyes upon...


Are you less of a Jane Austen girl? How 'bout a more modern couple?


Or there's always the classic movie that NavyGuy and I would have to go with...
There's several other couples that provide inspiration for invitation suites on her site, as well as a link to the the designer's blog. I just love how creative these invites are!!! And they really do feel like the couples who inspired them. For a bride and groom who really wants to follow through with a theme idea, these would make really memorable invitations. Definitely check out the other invitations on her site (she also has a couple baby announcements, and a neat "We've Moved" card inspired by Monopoly). Seeing this kind of work reminds me how many places I can look to find wedding and scraping inspiration!

Read more...
Blog Widget by LinkWithin

  © Blogger templates The Professional Template by Ourblogtemplates.com 2008

Back to TOP