DIY Wedding Invitations - Part 1
When I decided to make our wedding invitations myself, I knew the process was going to be painful. I would need to decide on a layout after having seen thousands of samples in wedding magazines and online. I would need to locate affordable paper and supplies. I would need to figure out a printing strategy (use a home computer? take them to a Staples or Office Max?). I would need to actually create and assemble 125 invitations. And I would need to do this all while staying on budget, accommodating everyone's suggestions, requests, and subtle demands, and keeping what shred of sanity I have intact.
Mission accomplished. I now present, our do-it-yourself-with-some-help-from-your-friends wedding invitations. I'm going to do a separate post on specific supplies and costs, but for now, let's just revisit Craft Fest 2009, a weekend where family and friends convened at my mom's house and worked their little fingers to the bone...
First up - Team Craft Wenches. HistoryGirlie, myself, and TWP staked out our work areas at the kitchen table (while Mom and Auntie T refused to be photographed and escaped to the livingroom to work on another project).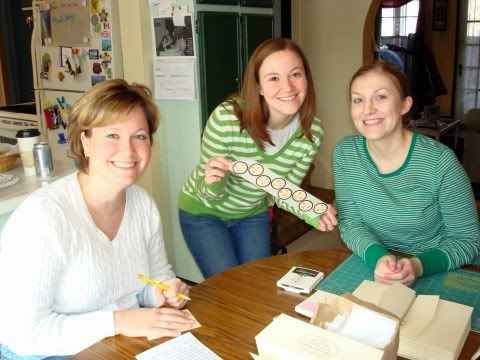 Both of these
 paper masochists willing helpers are DIY champs. Between the two of them, they've made monkey-shaped birthday cakes and award winning cheesecakes (from scratch), scrapbooked, paper crafted, embroidered, sewed, woodworked, gardened, and shaken Martha Stewart to her core. Both ladies have also survived childbirth, their own weddings, and life with me for quite some time, so I was beyond psyched to have them helping me out.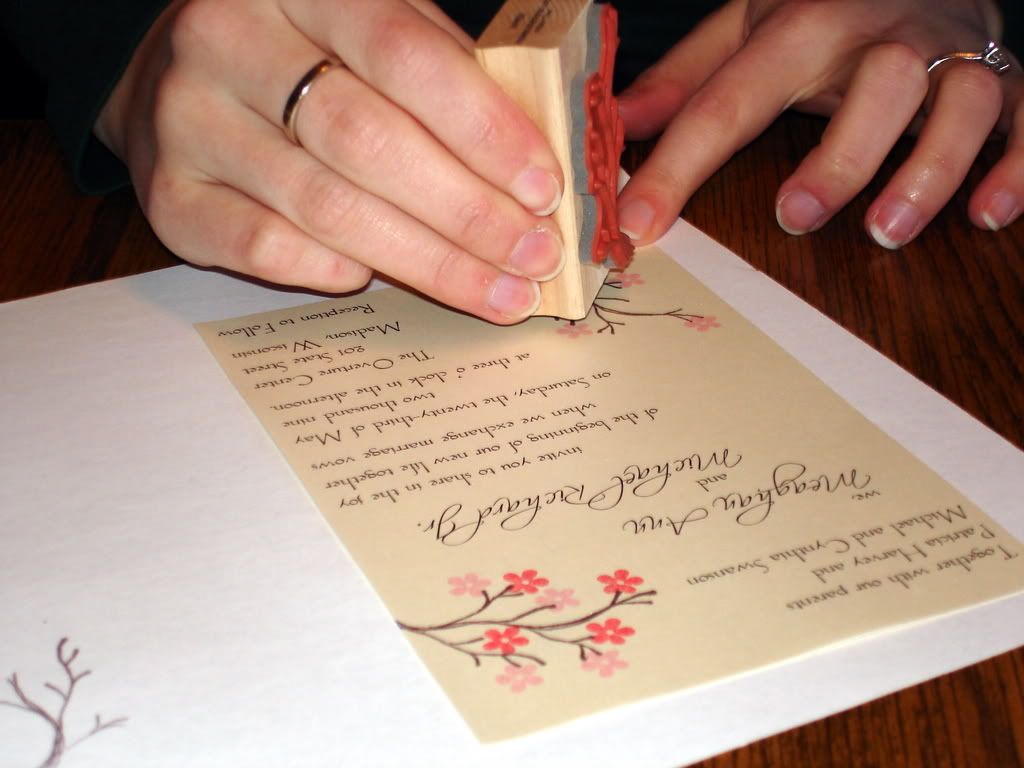 All of the designing and printing steps were completed before I arrived back in Wisconsin, so I'm going to skip ahead the more enjoyable crafting portions of the project. Here I am adding a cherry blossom stamp to the main layer of the invitation. The "cherry blossom stamp" involved stamping the branch in brown ink, stamping one set of light pink flowers, and then stamping a set of dark pink flowers. There were two cherry blossom stamps on each main layer, so that took up a good chunk of the first day's efforts.
 Here's a glimpse of the worktable in progress... messiness = productivity.
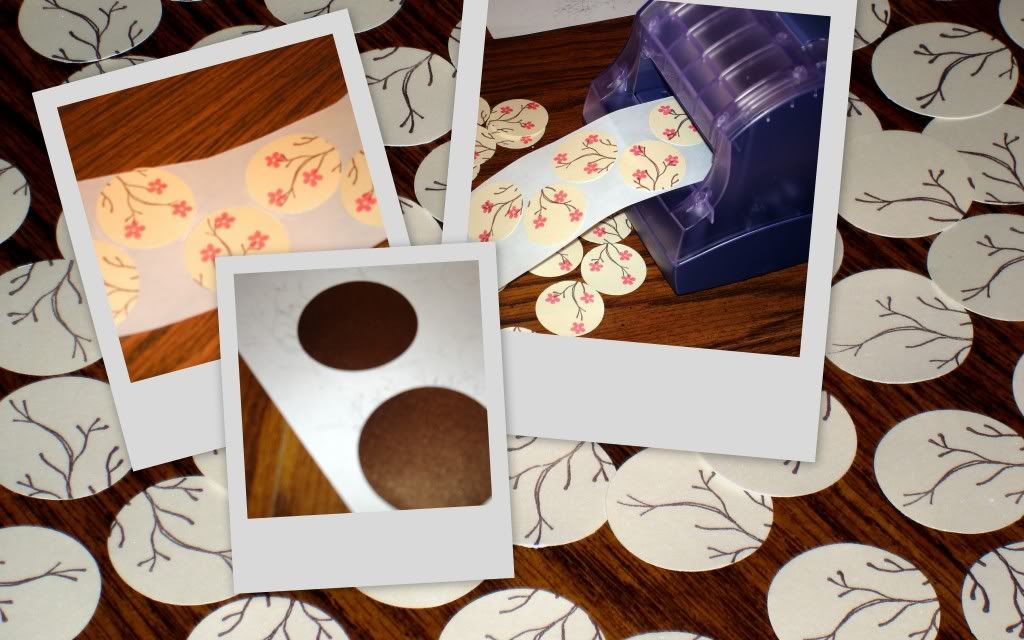 In order to close the pocketfold invitation, I needed to use some sort of sticker or closure. We went with a 2" circular sticker, again featuring the cherry blossom stamp. In order to make the stickers, we used a punch to punch out 125 cream circles, and 125 brown circles (Mom loved playing with the punches). Then each circle was separately fed through a Xyron sticker machine. Then Auntie T layered the cream circle on the brown, and they were ready to be attached to the pocketfold once the inside of the invitation was finished.
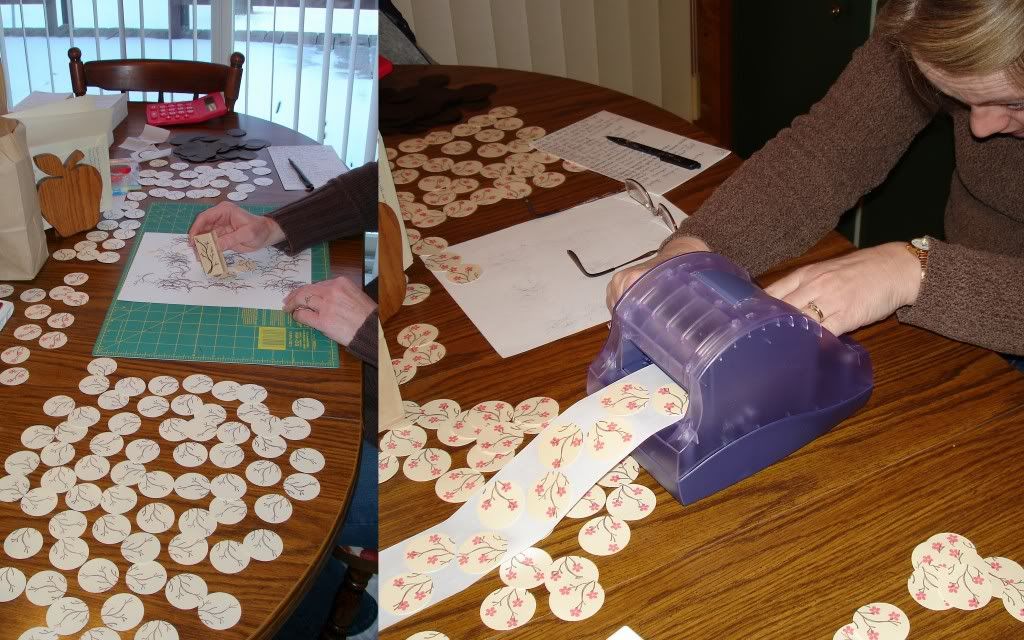 Here's Mom hard at work stamping circles, and Auntie T hard at work feeding circles through the Xyron machine.
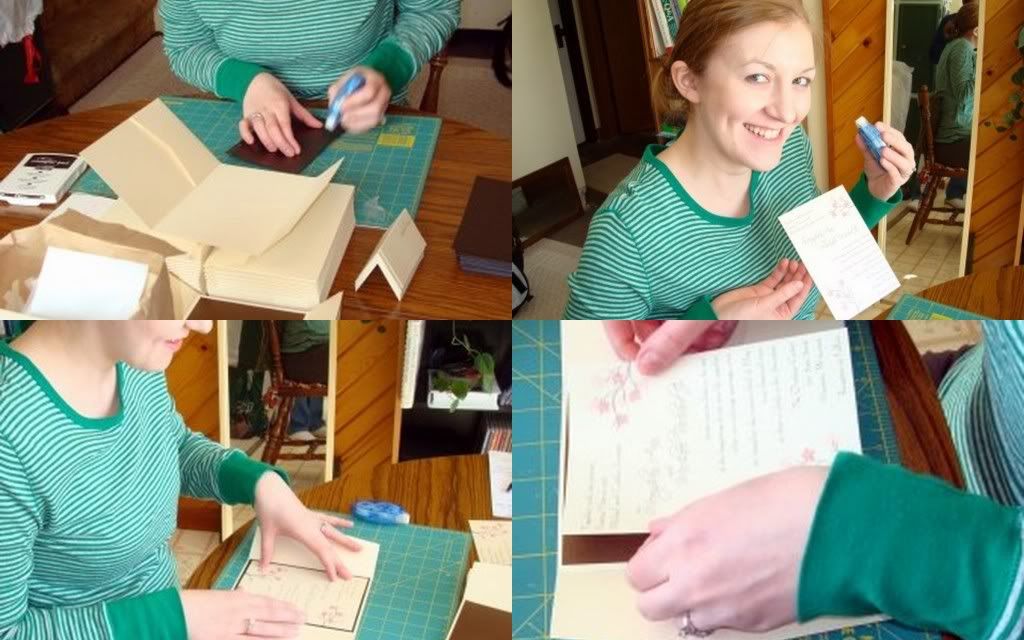 Once the main layer was stamped and ready to go, TWP assembled a layer of brown backing paper, then the main invite layer on top. The far right side of the pocketfold has a (duh) pocket, in which we inserted three additional pieces - an accommodations card, a directions card, and an RSVP card with matching envelope. Our ceremony and reception are at the same location, so we didn't need a separate reception card.
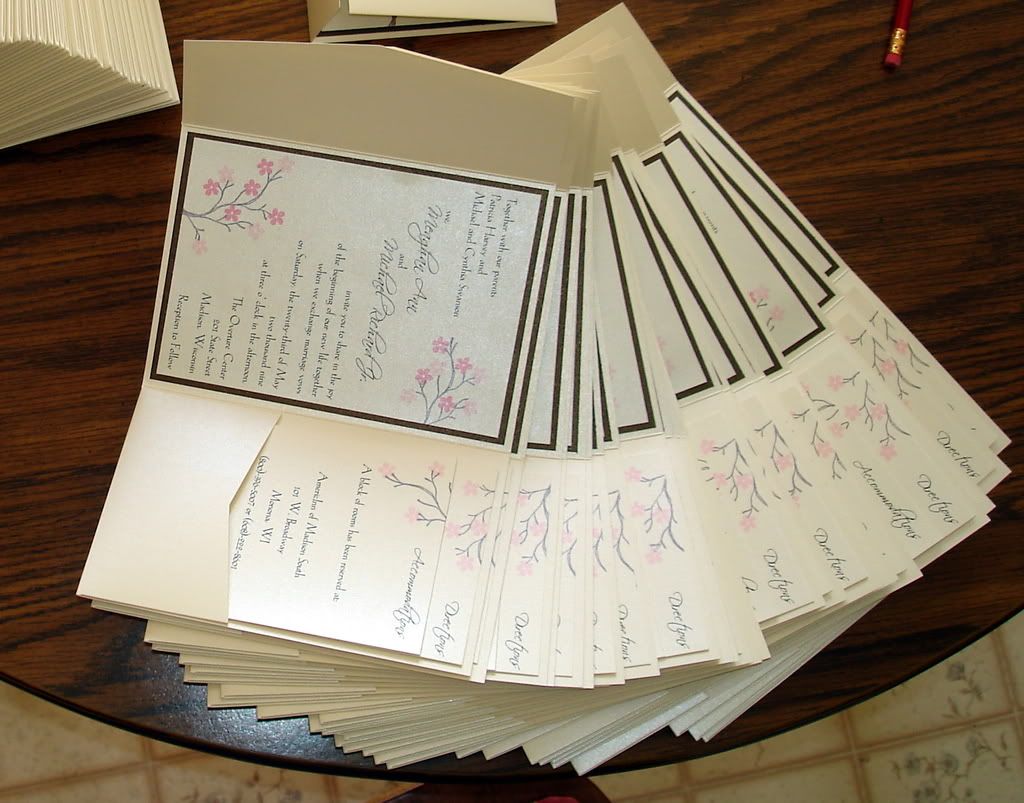 Here they are!!! Looking so beautifully splayed on the kitchen table, ready to be closed, stickered, and stuffed in gorgeous "calligraphed" envelopes.
 The final product. My baby. It seems like just yesterday, she was only a glimmer in my eye... ;)
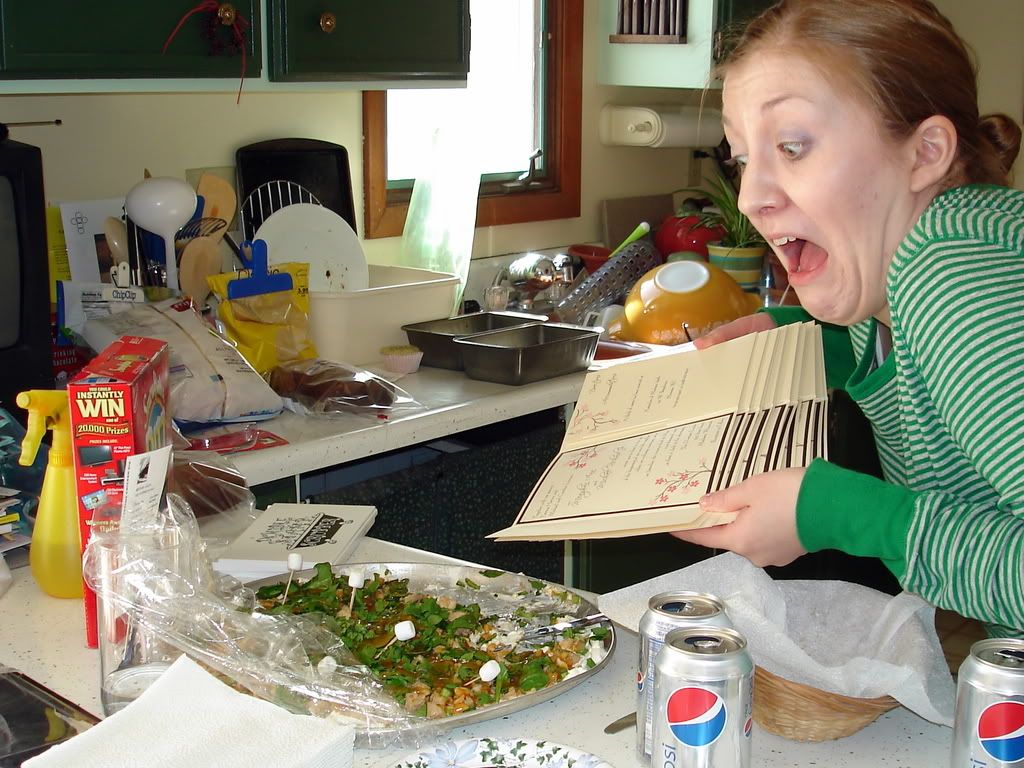 And TWP having a little fun with the finished invites. (Don't worry - the photo was staged and neither the invites - nor the sweet and sour chicken dip - was in any real danger.)
15 comments:
Awesome invitations...you did a great job! tfs!!!
They are absolutely beautiful!
Gorgeous invitations, you did a fabulous job. And I just loved the post with all the pictures.
Wowza - gorgeous invitations. What a fabulous job.
Teresa
OMG! These are absolutely GORGEOUS!! Just beautiful. Choosing the perfect wedding invitation is difficult in itself and to create them on your own must have been trying. You did a lovely job! You are going to get lots of compliments on them.
Great job! I love them! You know the next time I see you I am going to want details!
oh wow, a lot of work, but the results are beautiful!
awesome work.
Why do I have 5 chins in that last photo???
I blame the dip.......
TWP
Absolutely beautiful! Congratulations and best wishes to you!
Lest we forget the other pitfall inherent in this course of action: Calling me in tears in the middle of the night saying you couldn't get them done. Luckily, this never happend ;)
Wow, so much work but absolutely beautiful.
Your invitations are awesome! I did mine about 11 years ago, yikes and I understand the work that's involved. So glad you had help!
OH MY! What a fantastic job on these invites!
Wow... this invitation really inspired me :)! Quick question though... where did you buy your stamps? I've looked over thousands of webpages and still can't find your cherry blossom flower stamp! Any pointers help~ Thanks~ :D
The cherry blossom stamp was ordered from impressrubberstamps.com. They have a huge selection of cool modern stamps. Hopefully the stamp is still available there!
What's nice about it is the branch is on one side of the stamp, and the flower design in on one of the ends - so you stamp the branch, then add the flowers in whatever color(s) you want, wherever you want.
Post a Comment