Home Sweet Home: Pretty Storage
Mom and I made our biggest find at IKEA within twelve seconds of entering the building:Mom and I basically lost our shiznit when we saw it. I know - you're thinking, huh, yeah, so it's a cube thing. What's the big deal? The big deal, is that when you lay it on its long side and dress it up a bit, it's freakin' awesome. Just trust me people, would I ever lead you astray? No.
So, it's the Expedit Bookcase (otherwise known as, my current favorite item in the house). The one catch was that I didn't want to store tons of stuff on the shelves out in the open, because it would inevitably look messy.
There are baskets that you can purchase separately, but they were about $15 each! Oh no no no. I think not... there must be an alternative solution... hmmm...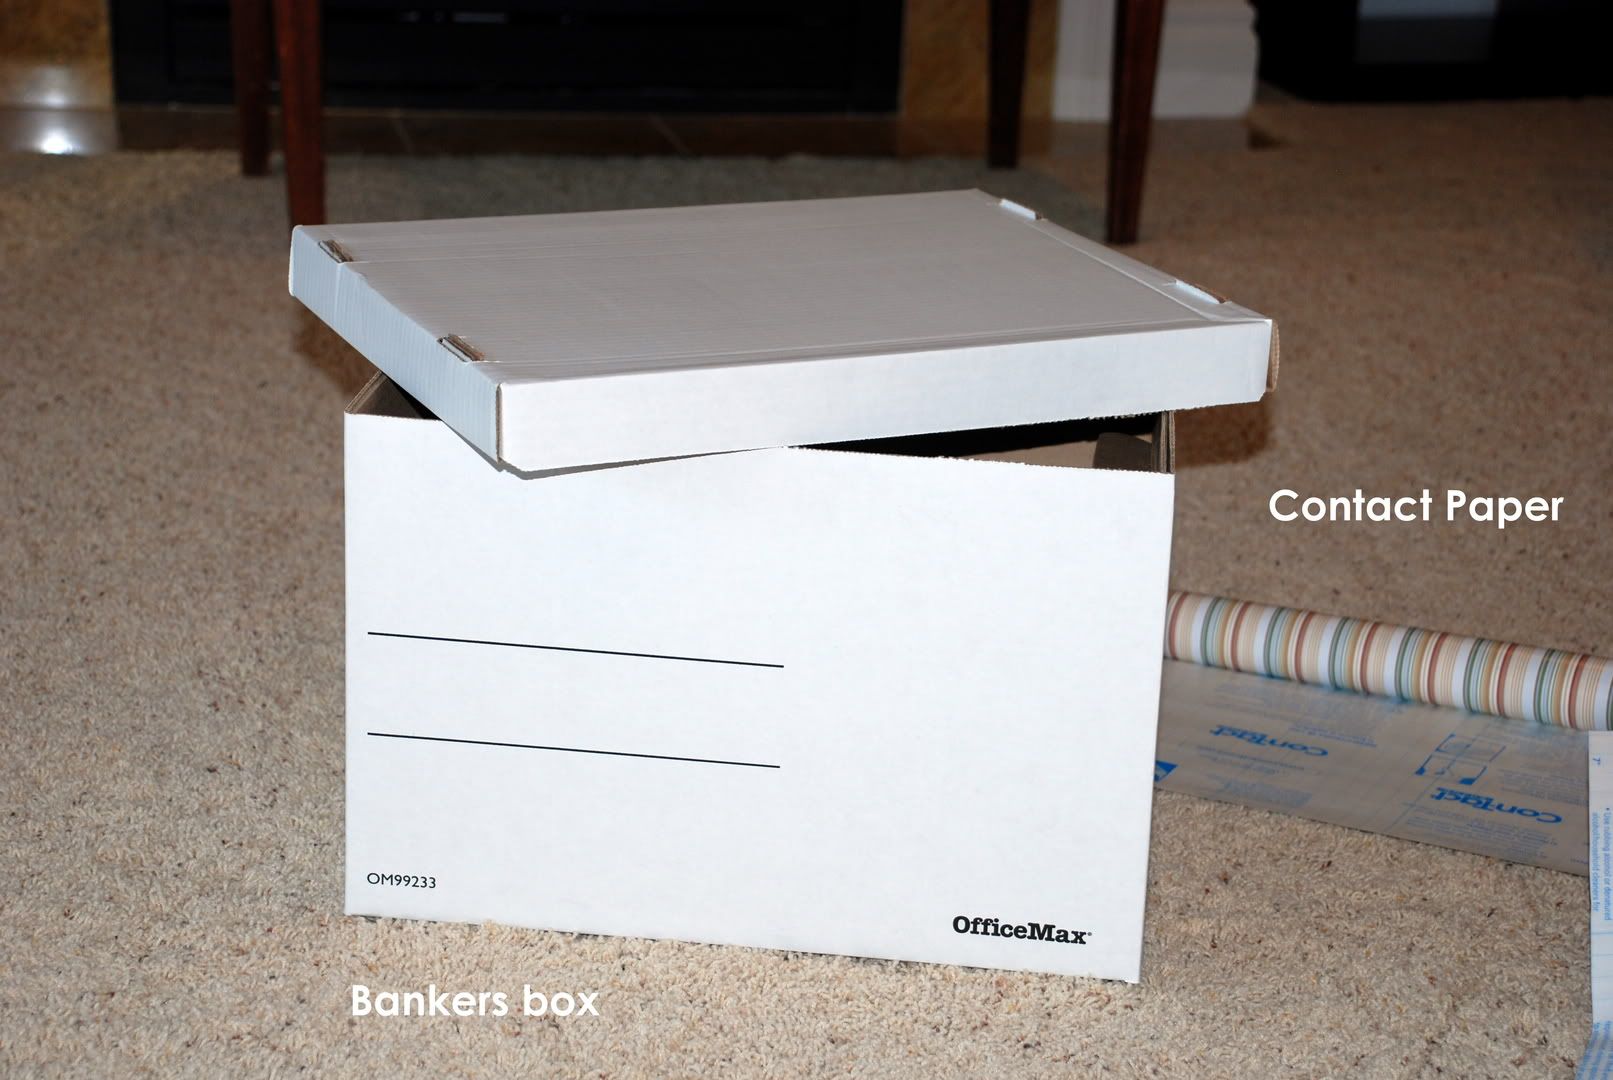
Brilliance! What else could we do with the 40 or so odd bankers boxes we had used for moving that were still camping out in every room of the house!?!?!? Oh blessed boxes, would you fit in the cubes? NavyGuy doubted me, but he was foolish and has since learned never to question my design ideas... the boxes fit perfectly.
We dressed the plain boxes up with contact paper (sticky paper) from Wal-Mart. They have tons of neutral patterns and you can find the contact paper in the kitchen storage / housewares type section. We covered a bunch of boxes, some for the bookcase that would go in the family room (and some for the other bookcase that I'll show off when I take pictures of the craft zone!).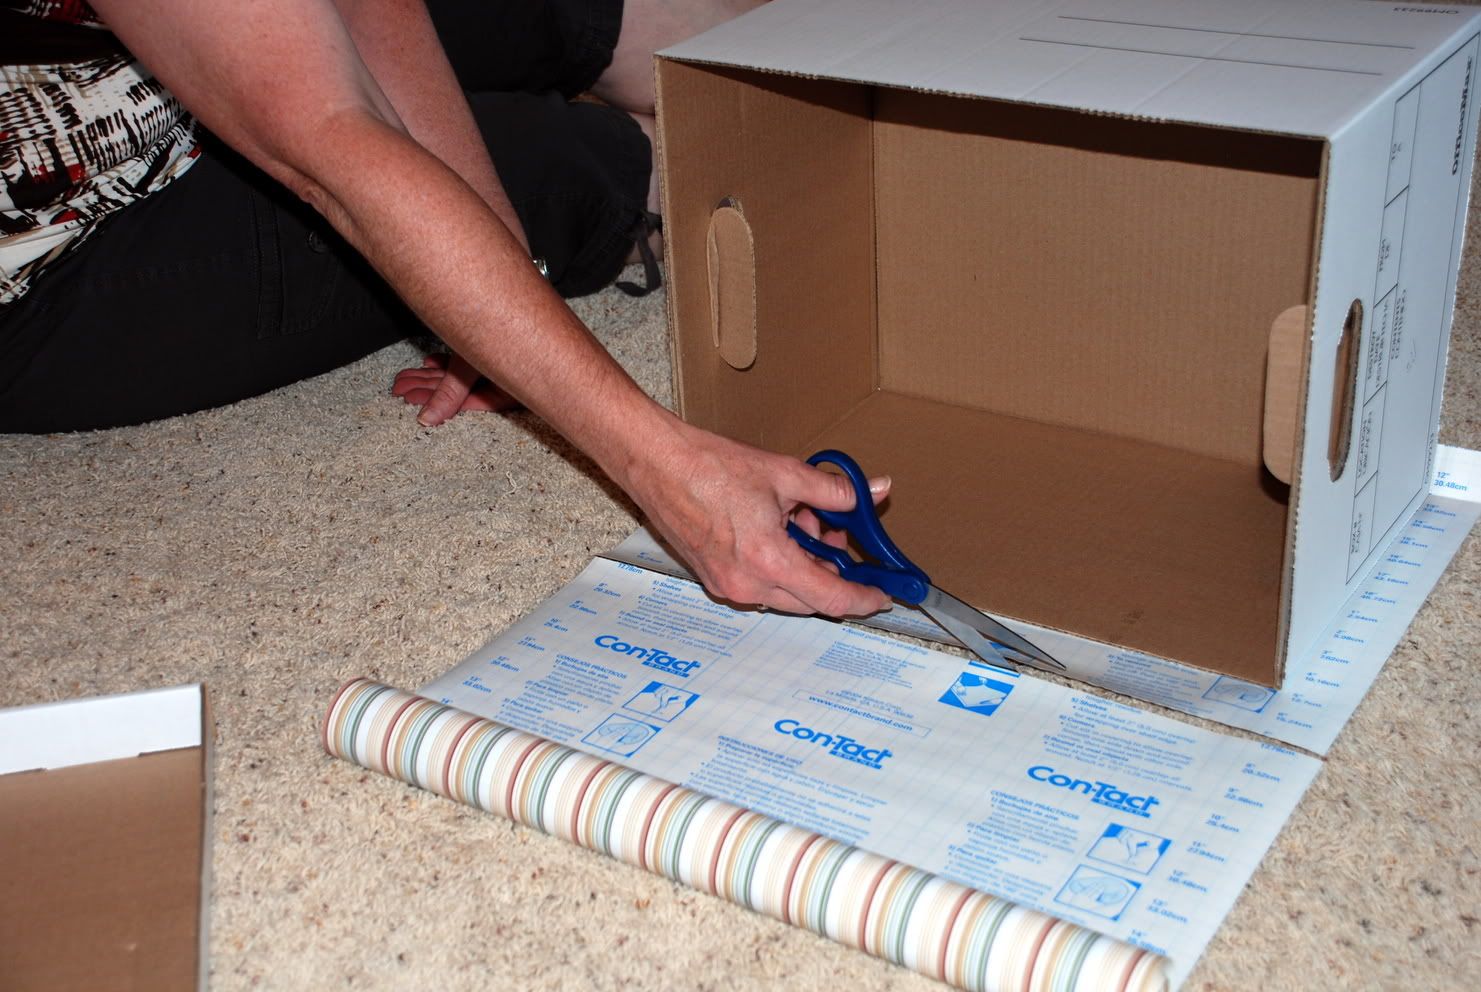
Mom was in charge of this project. Essentially, she cut a piece of contact paper, with at least a 1 inch border, for each side of the box (excluding the bottom).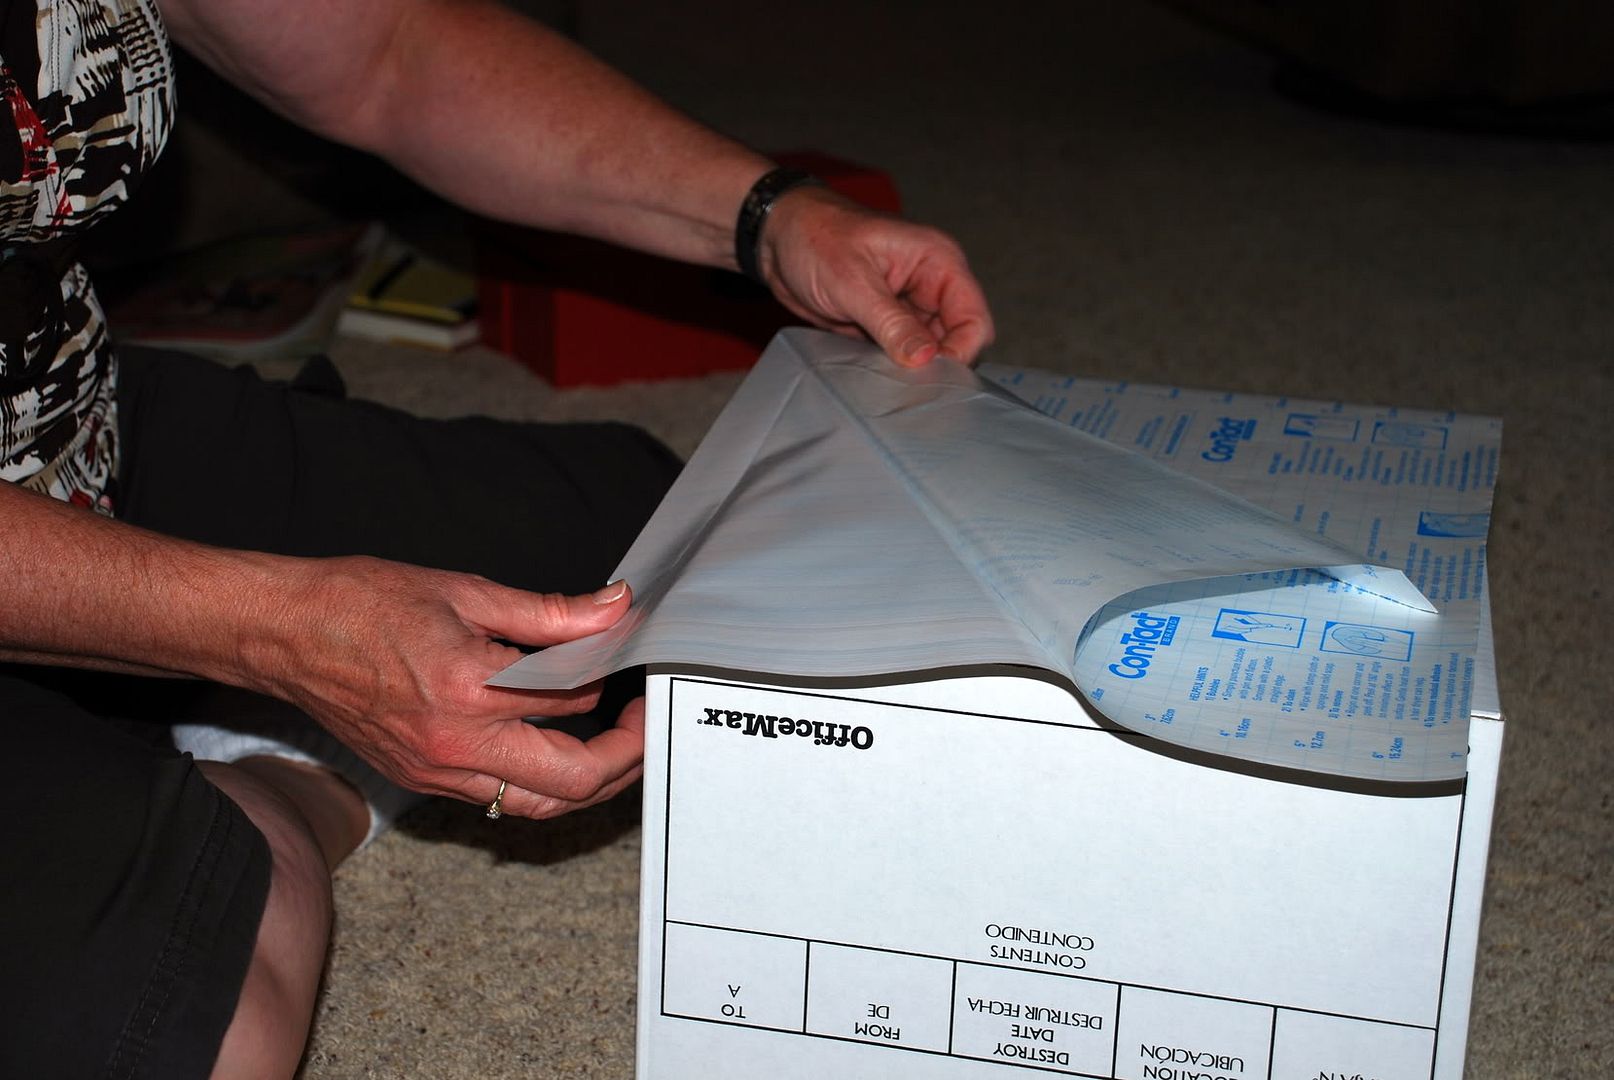
The contact paper peels off revealing the sticky side, which you simply stick to the box. Lay it on carefully, using your hand to smooth out any bubbles or wrinkles in the paper. Eventually it will stick firmly, but you can reposition it as you're working with it.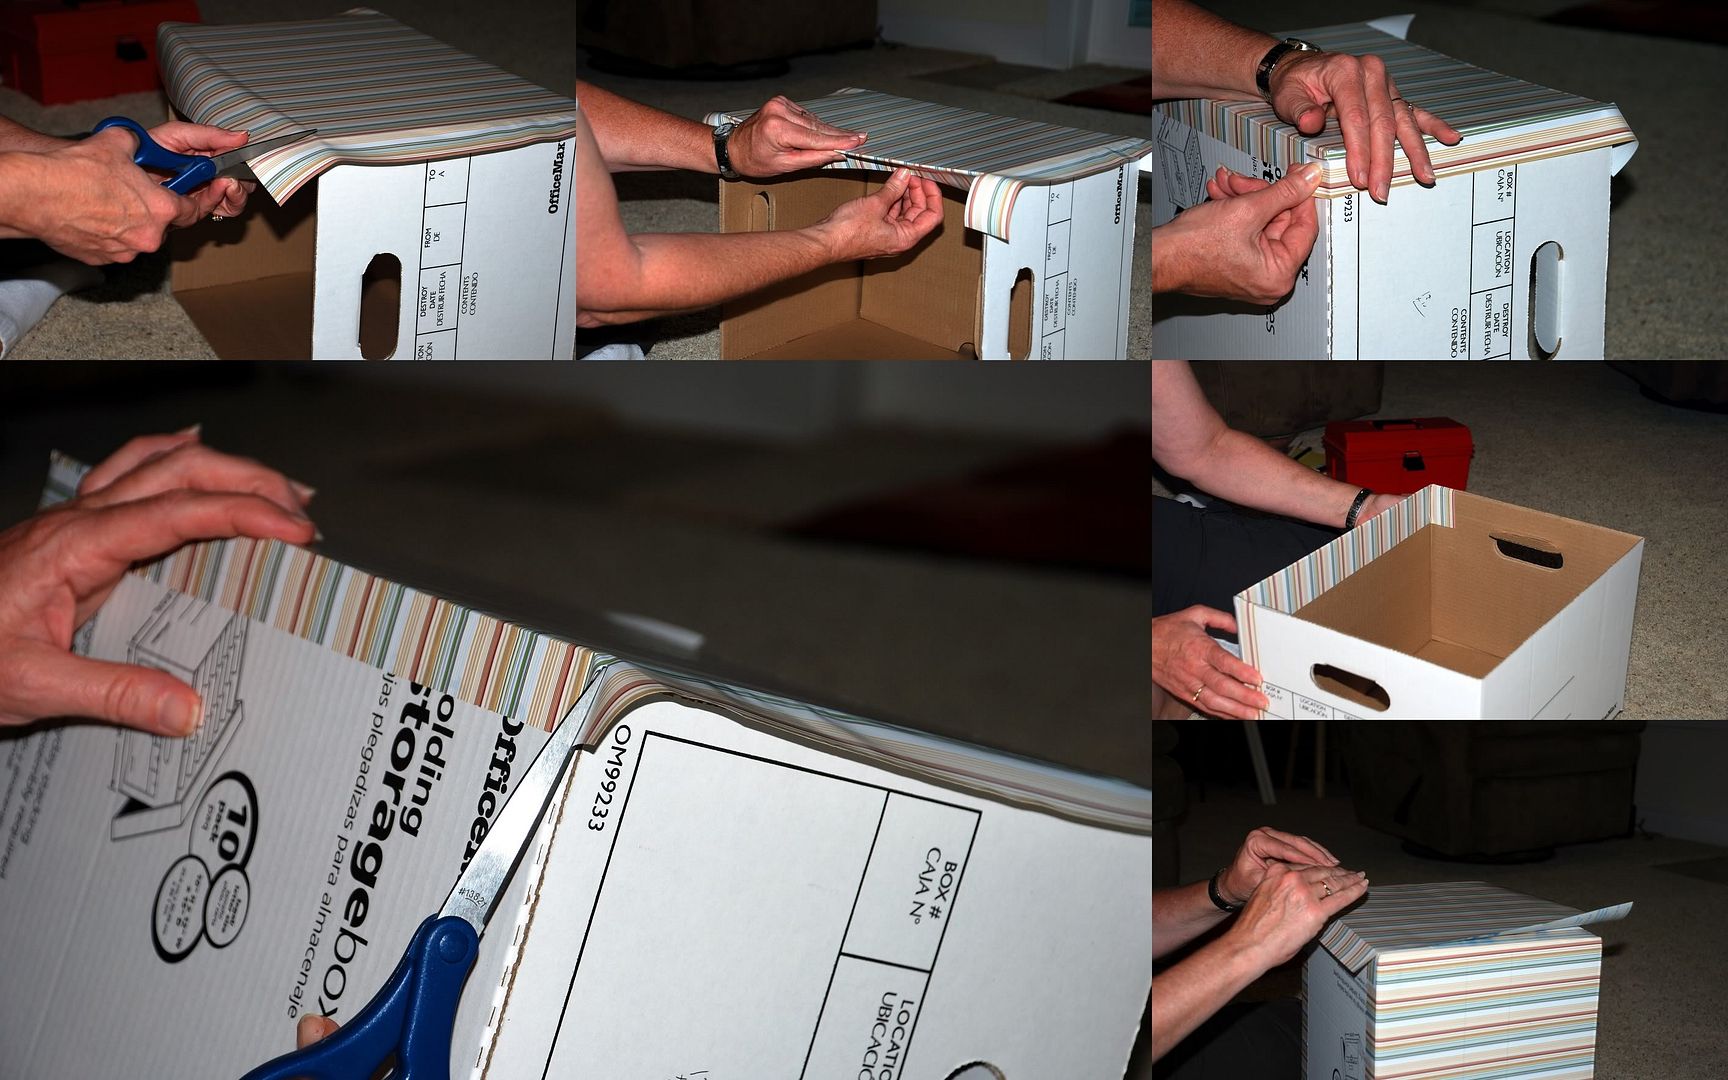
Then you're going to cut the contact paper at the corners, so you can fold it over the sides of the box and create clean edges.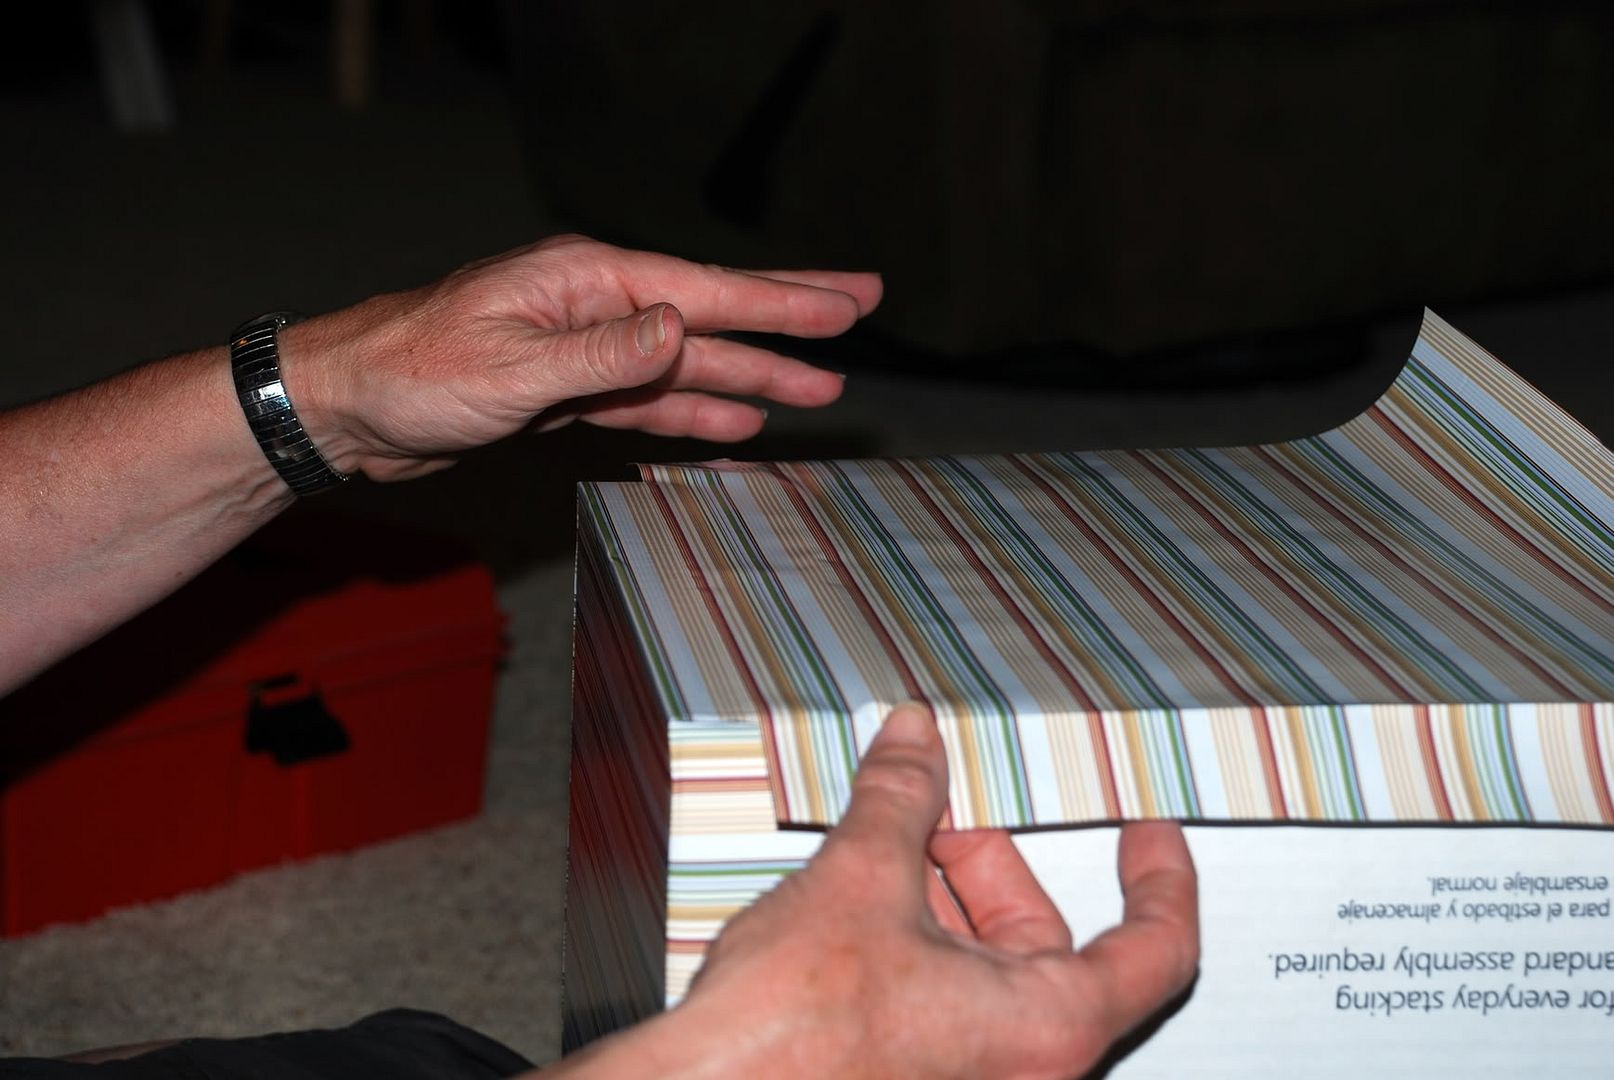
If you pick a pattern with stripes (and you're ANAL with capital letters), carefully match up those stripes! We chose this pattern for the mix of basic colors, including a blue that matches the new family room curtains.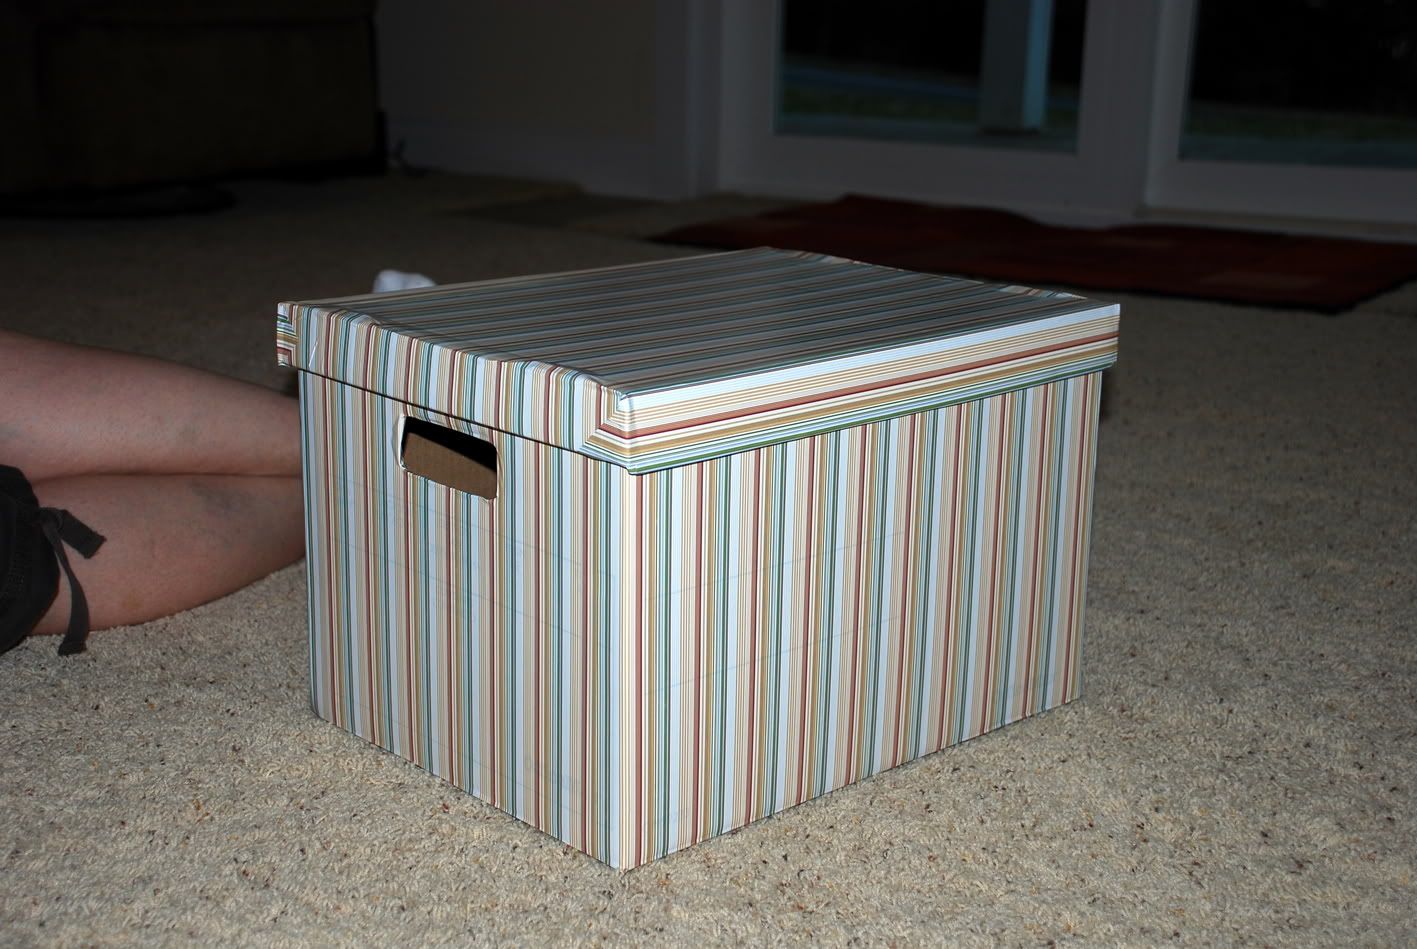
I'm in love.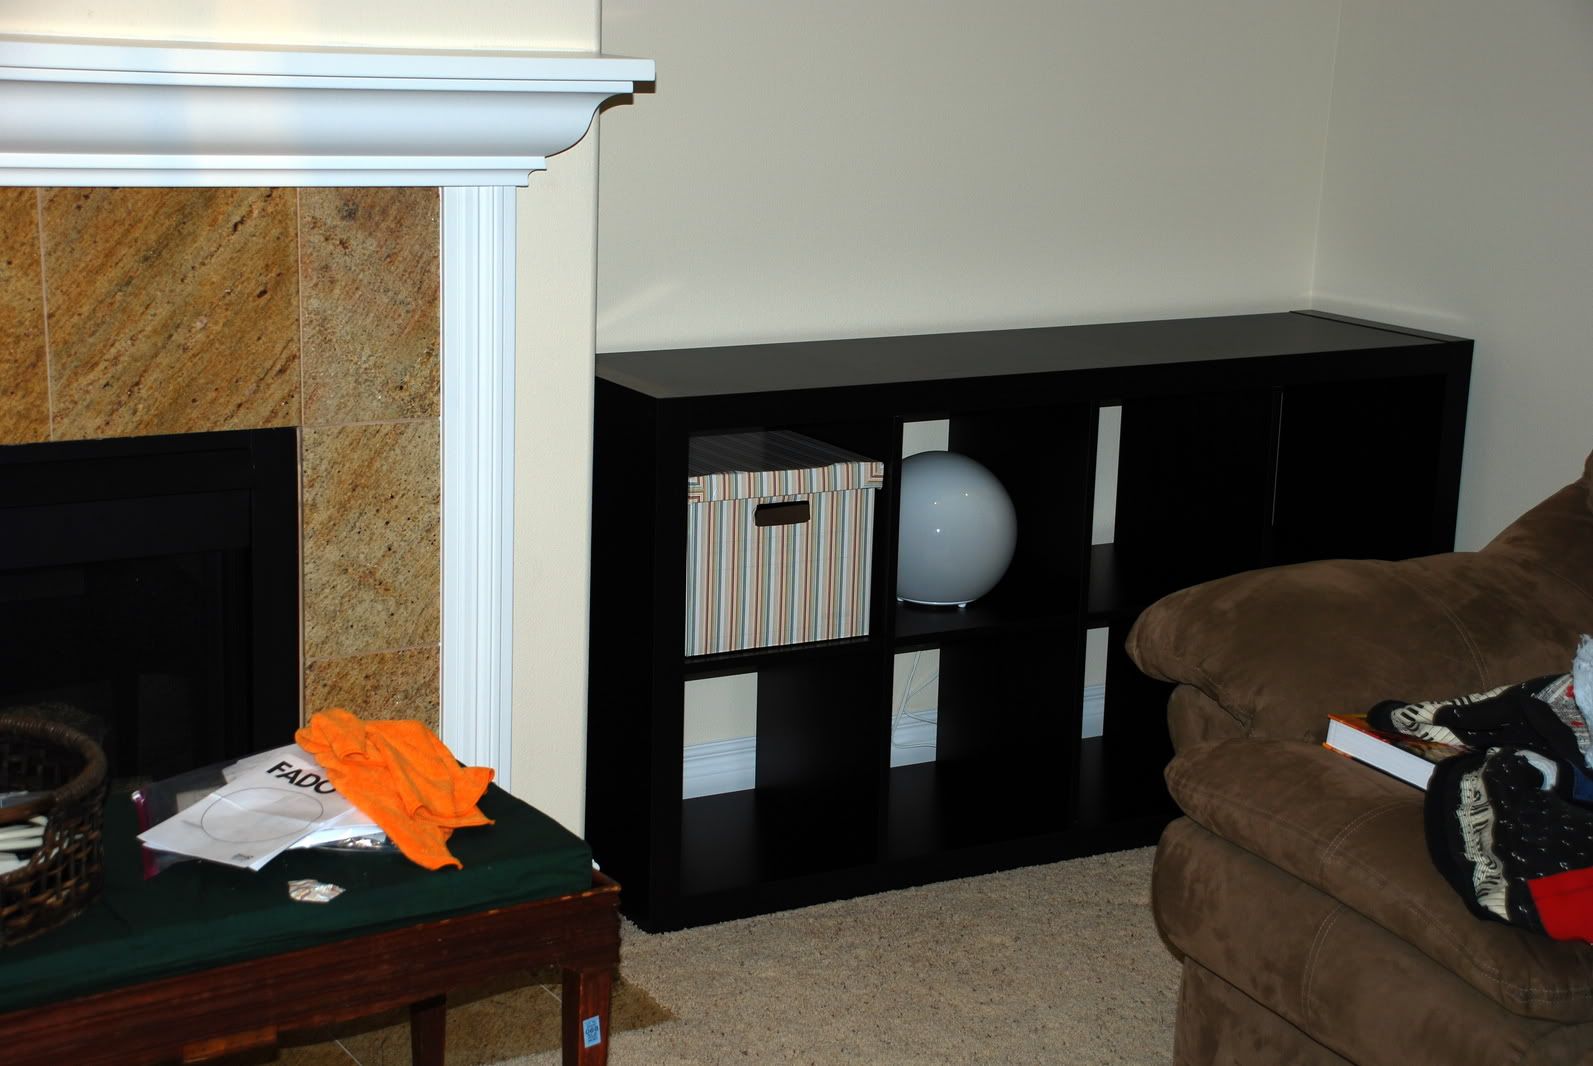
No, wait. Now, I'm in love.
No, we did not measure the inset space between the fireplace and the wall; we are just that lucky good, and the shelf totally fit there. Several more covered boxes, a few open shelves with pretty books and knickknacks, and what? What's that? What is that round white ball in one of the cubes, you ask? Well friends, you're going to have to wait and see...
Are you in love yet?
6 comments:
They definitely add a lot to the downstairs room. I like your movie watching lighting, too.
Love it! Great idea using contact paper. Put all those boxes to good use. =)
Wow, I never realized there was suspense involved with design...keep it coming Mugs! (And Mom!)
Genius! I love it. I'm thinking the boxes would be great for kid stuff as well because I could easily wipe sticky messes off the contact paper!
TWP
i love love love it. I need some for the Cat's closet. maybe then it won't look like a semi-confined tornado.
I need to find some cash money to come out and see you. perhaps sell a kidney?
when are you coming home, do you think? the holidays?
Well Done!! I love the shelf turned on its side. You should go on "Decorating Cents" or "Design on a Dime" with the box idea! Fantastic!
Post a Comment